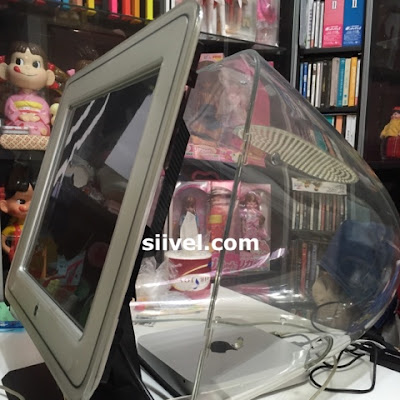
Here's a Service Source of the Apple Studio 17 Display (ADC). After reading that, you will be able to disassemble your Studio Display:
http://tim.id.au/laptops/apple/displays/studio17adc.pdf
After disassembled the Display, you will have the following stuffs:
(a) the Outer Case - comprising of the front bezel, the rear housing and the stand;
(b) the deflection board; and
(c) the CRT.
Among these, the CRT is our subject matter which needs to be replaced by a LCD.
However, the CRT has leaded glass and poisoning substances inside. So when you take apart of it you need to pay special attention. Remember not to break the glass or you might be exposed to those poisoning substances therein. After take apart the CRT, hand over to e-scarp porofessionals for handling.
After disassemble the display, I applied glue between the front bezel and a 16" LCD.
It is just the beginning. Please stay tuned to this blog:)
Related Articles:
Studio Display Mod - What is "Apple Studio Display"?
Studio Display Mod - An Idea
Studio Display Mod - About ADC Connection
Studio Display Mod - Take Apart the CRT
Studio Display Mod - Polishing the Case
Studio Display Mod - Protective Film for the Display
Studio Display Mod - Blueprint of Protective Skin
Studio Display Mod - Take Apart the CRT
Studio Display Mod - Duplicating the Cathode Ray Tube
Studio Display Mod - Assembled
Studio Display Mod - Finalized
Erik Siivel (@siivel.com)
Modder | Producer | Blogger | Youtuber
Email: siiveldotcom@gmail.com


No comments:
Post a Comment